
What is Cold-Application Glide Waxing? (MasterWax)

“Cold-application” glide waxing uses friction-heat generated by a rotating wool applicator to apply a thin layer of wax to a ski, or snowboard’s base. MasterWax’s marquee product lines have been using the cold-apply waxing method for quite a few seasons now. “Cold-apply” aka fleecing use to be branded as a “revolutionary” ski waxing system, but that branding has aged. Nowadays, many high-level clubs, teams, and ski-service shops use the system. Many other wax companies have copied MasterWax’s cold-apply system. Cold-apply waxing has gone mainstream.
Advantages of Cold-Apply
With concerns raised by various studies over the past decade on the adverse effects to the health of wax techs working in enclosed spaces while engulfed in fumes from traditional waxing methods, MasterWax cold-apply offers a huge step in protecting the health of wax techs or anyone else who enters a wax room. Cold-apply does not produce smoke or fumes. Also, the amount of dust created in the waxing process is greatly reduced.
Impact on the environment is minimized when using cold-apply methods. The amount of wax that is wasted is minuscule. None of the wax used is scraped and brushed away into the garbage bin. Expect to wax 60-80 pairs of Nordic skate skis with a 20g block of MasterWax. The harmful solvents found in liquid glide waxes are completely avoided. For the 2021/22 season, Canadian Wintersports will not be importing any fluorinated MasterWax products (unless specifically requested). Instead, the new RACING FLUROFREE line will be our only wax line available.
The quicker, simpler application process is a massive draw to this application method. The three-step clean, load, then buff process is faster than traditional waxing methods. It is also much easier to learn for new back-shop employees or ski club volunteers. Because there are no hot temperatures or sharp tools involved, the risk of damaging equipment while waxing is mitigated.
The kilometrage you get out of waxes applied by this method tends to be good, but the standout feature is the raw speed of the skis it produces – particularly in warmer temperatures. Fleecing leaves the bare minimum amount of product on the base. This is fantastic because the ski bases’ natural structure or stone grind is maximally exposed to the snowpack. This helps the ski base do its job of getting rid of excess water from under the ski base. Fleeced waxes can be applied either on a completely bare, clean base or a paraffin base wax. As temperatures get colder, it’s recommended to fleece over a hard base paraffin.
How to use Cold-Application Waxes

- Begin by scraping a brushing out your base as thoroughly as possible. Use steel brushes if you have one. Bronze brushes are second-best.
- Clean your entire base with a base cleaner or wax remover. Wipe as much dirt and dust off with Fiberlene or shop towel.
- Using a piece of Fibertex, energetically rub-down the entire glide zone to remove any microscopic hairs or burrs in the base.
- If temperatures outside are below -7C, it is recommended to iron, scrape and brush a layer of very hard paraffin melt wax. A green wax is best, blue is second-best.
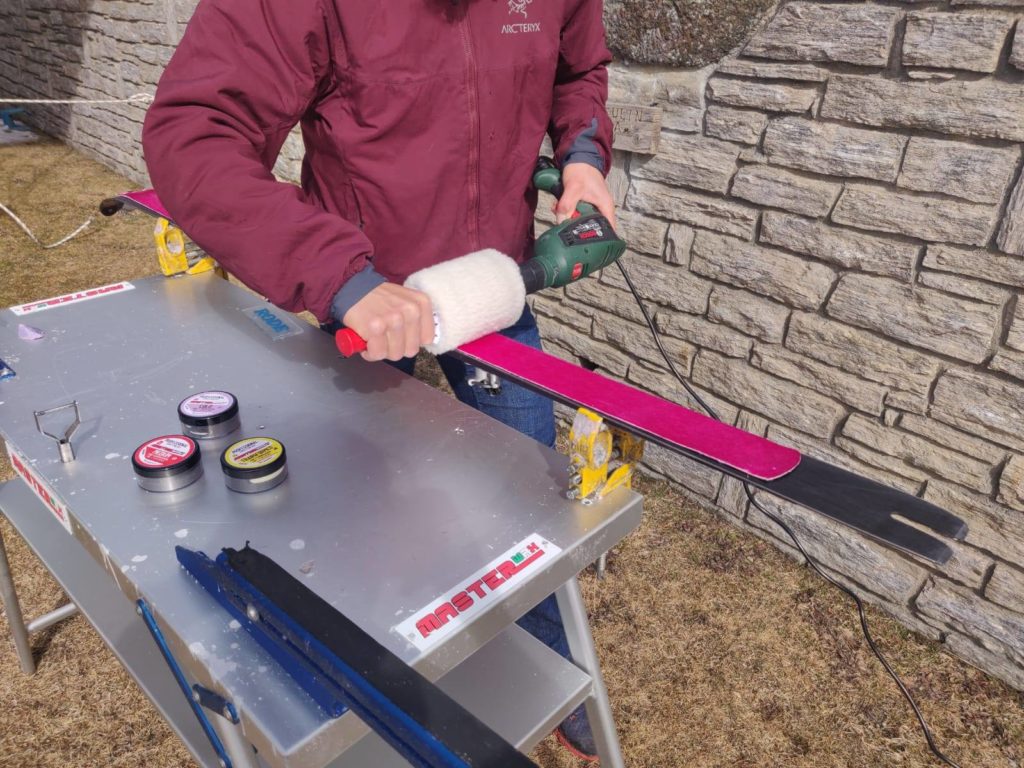
- In your head, mentally divide your wool applicator or roto-fleece in half. Load up half the applicator with product by gently touching the puck to the rotating applicator. Leave the other half of the applicator clean. The clean side is for buffing later on.
- Taking the clean ski and using medium force, run the loaded side of the applicator up and down the ski a few times to apply the product.
- Once the ski is loaded, switch to the clean side of the applicator and using slightly more pressure, buff out the ski several more times.
- Your ski should now be shiny and ready to go fast!
MasterWax can be applied to skin skis 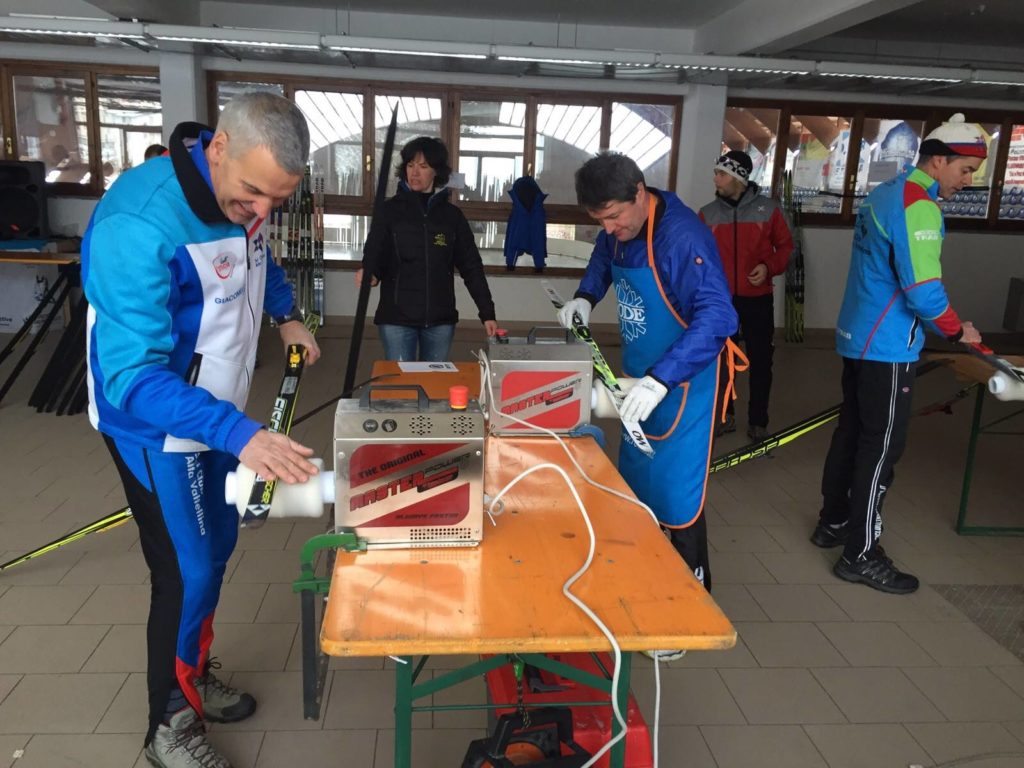
Produce fast skis fast! 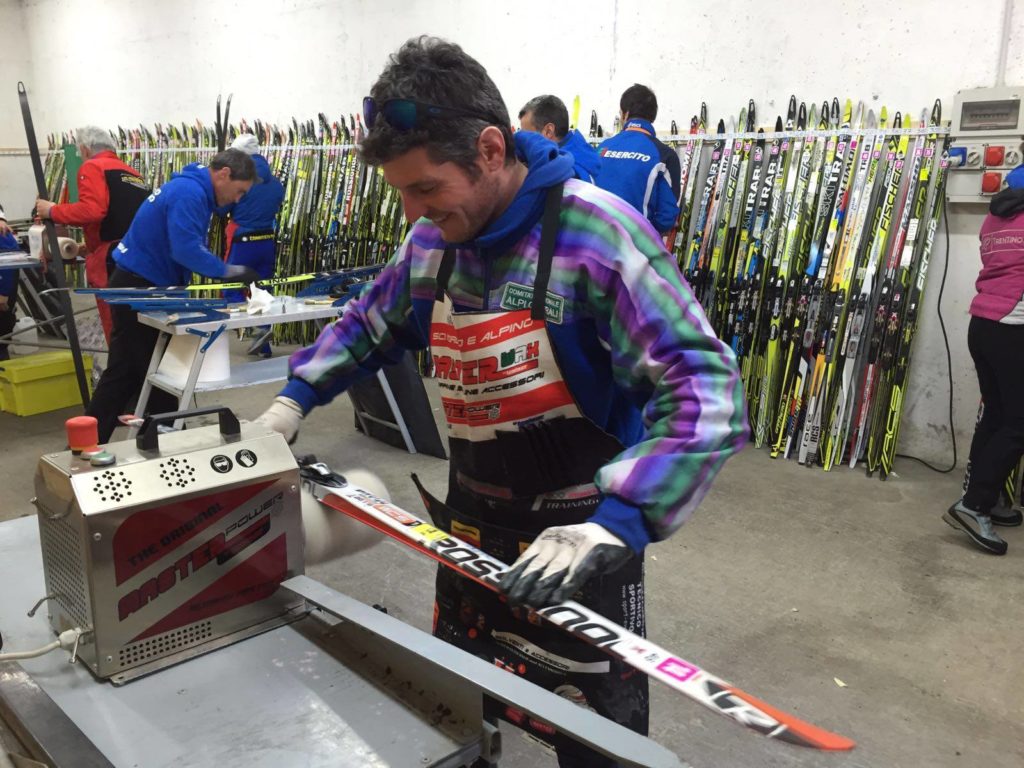
Easy to learn
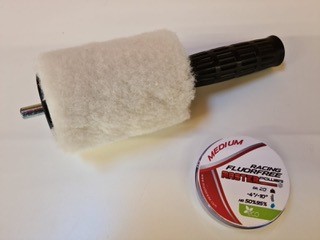
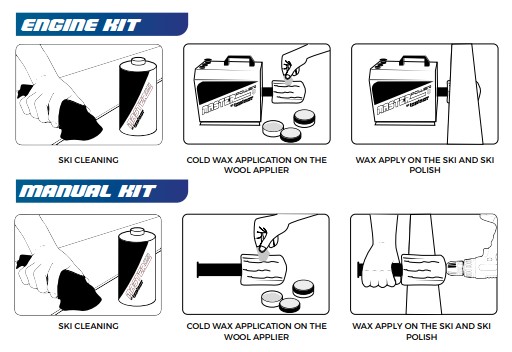
Entry Kit 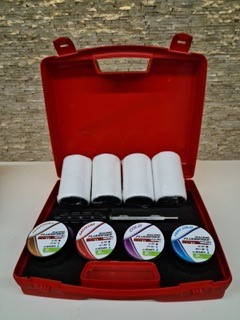
Junior (Manual) Kit 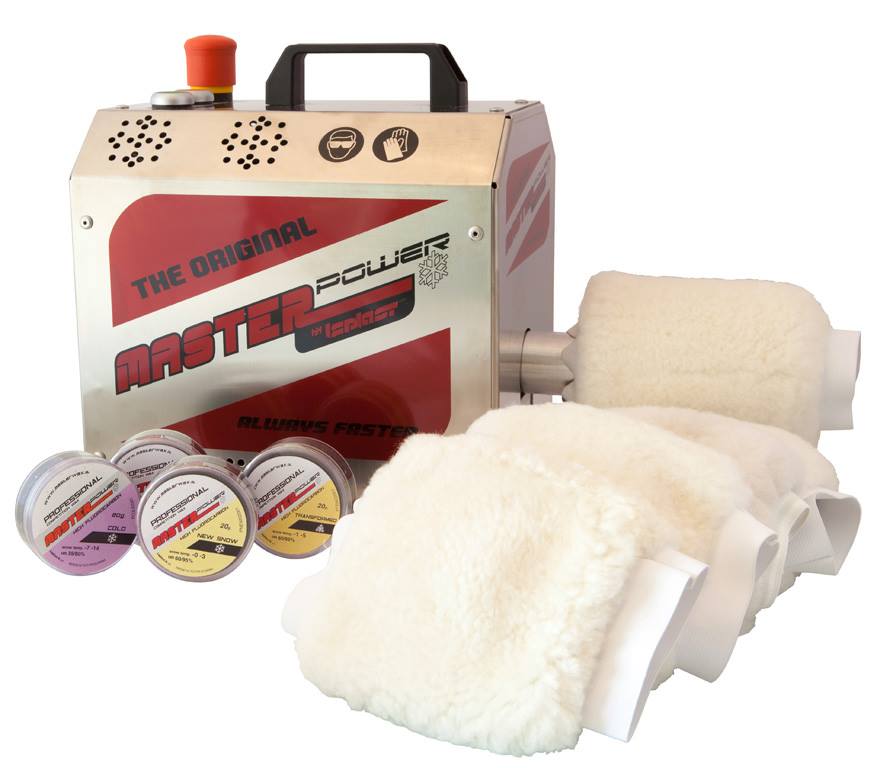
Engine Kit